Stories Design note
Part of BoomerOS for TV
Building Dad a simpler TV, part 1: the Raspberry Pi 5
Part 1 of building Dad a simpler TV: setting up the CanaKit Raspberry Pi 5 kit, turning on HDMI-CEC, and the five places a tech-handy son got stuck.
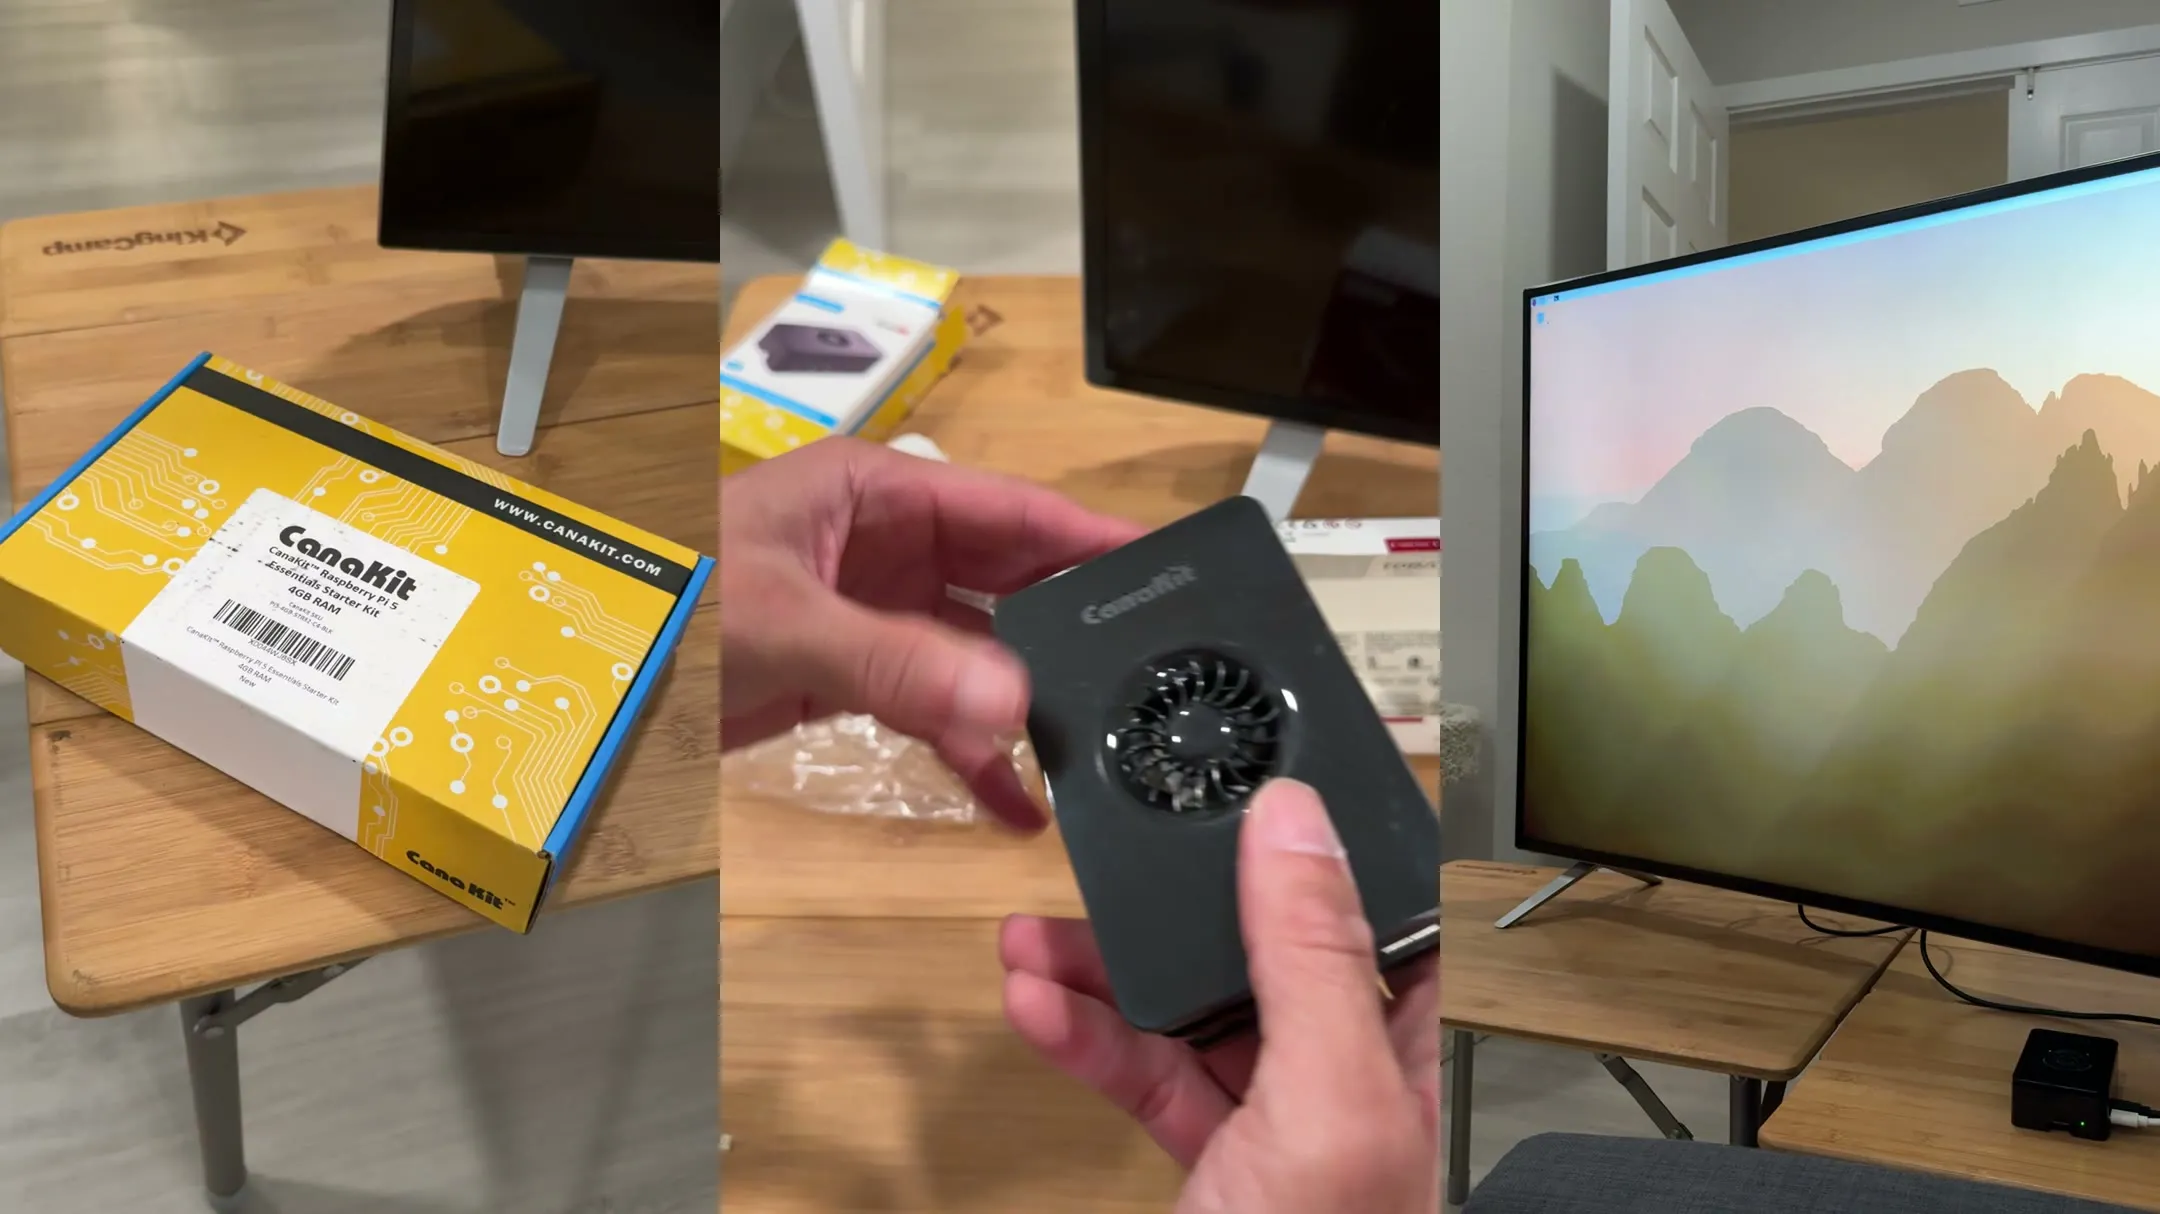
The CanaKit Raspberry Pi 5 Essentials Starter Kit (4GB, $189.99 in September 2026) took me about 15 minutes to put together and one evening to set up. With HDMI-CEC turned on, my ordinary Vizio TV remote could control it: the arrows, OK, Exit and Play worked; Back, Menu and Info didn't.
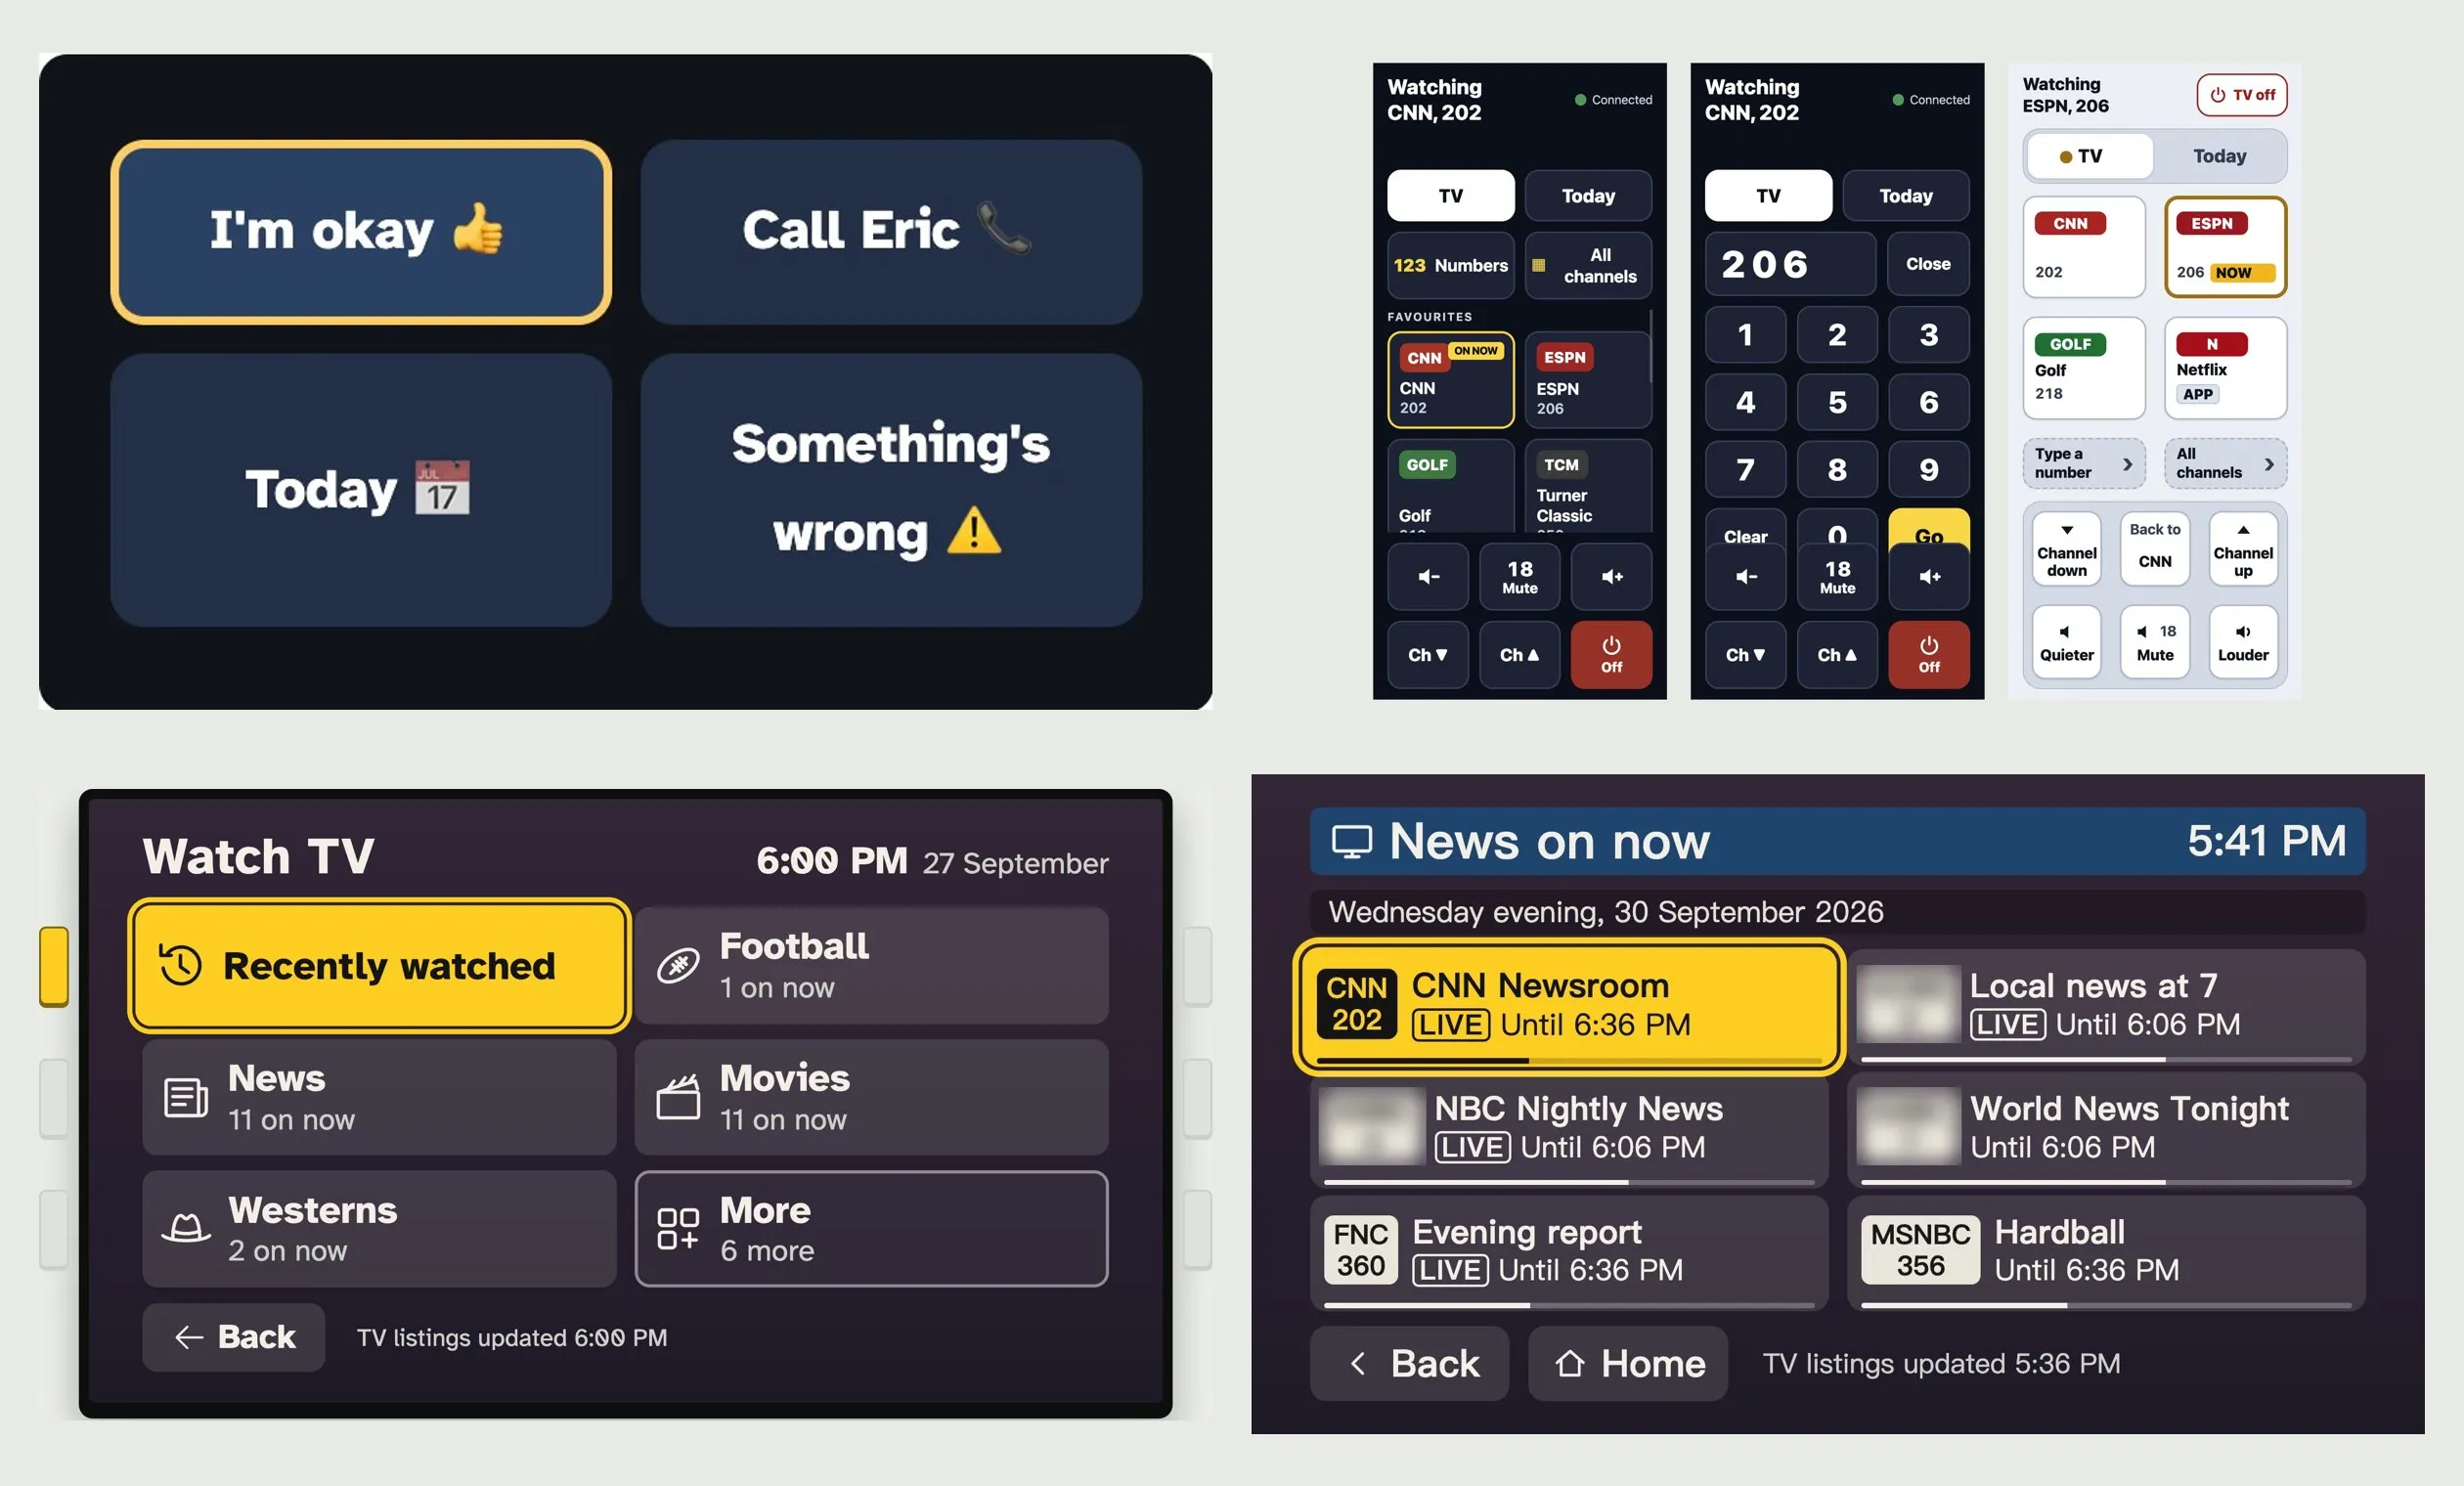
This is part 1 of building a simpler TV for my dad: one home screen he can use with the remote he already has. The Pi is the small computer that sits behind the TV and runs it. Eric researched the options with Claude, an AI assistant, and we went with this kit because it cost less than buying the parts separately.
I'm handy with technology, and I still got stuck five times setting it up.
The short version
- What: the CanaKit Raspberry Pi 5 Essentials Starter Kit, 4GB
- Cost: $189.99 on Amazon (September 2026)
- Time: one evening, fitted around dinner and other work. Putting it together took about 15 minutes.
- How hard: fiddly, even with an AI assistant telling me what to do
- Verdict: a great little computer, but not something to hand a parent as a kit
What's in the box
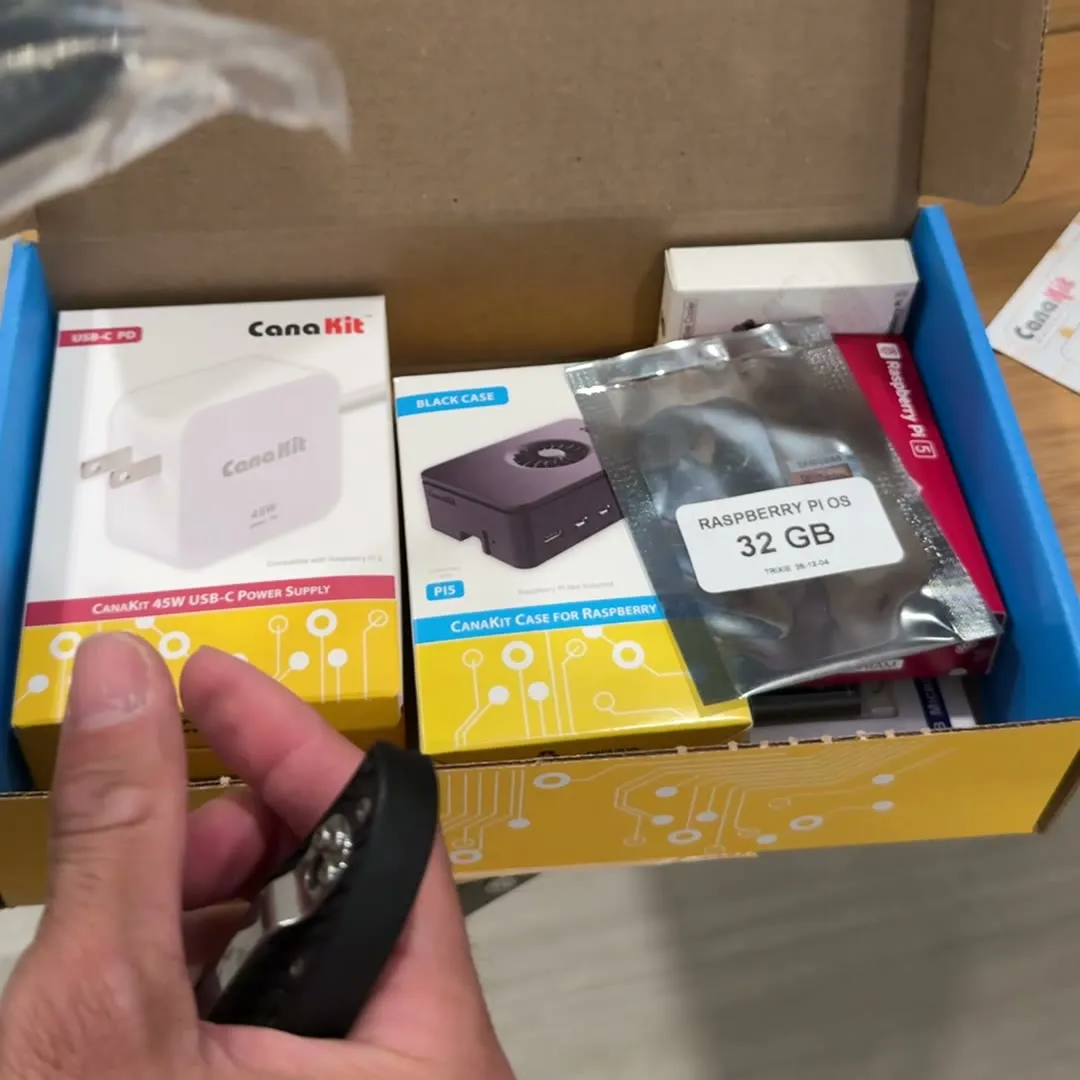
- The Raspberry Pi 5: the computer itself, a green board about the size of a deck of cards
- An Active Cooler: a metal heat sink with a small fan that sits on top of the board
- A black case
- A 45W USB-C power supply
- A 32GB memory card with the Raspberry Pi software already on it
- A USB card reader, for putting fresh software on the card from a laptop
- A micro-HDMI to HDMI cable to connect it to the TV. The Pi 5's video sockets are the small micro-HDMI kind.
None of it is hard to put together, because everything clips or screws on. Someone who has built one of these before would probably be done in minutes. The one thing I missed was a sheet showing what goes where, and in what order. The only printed instructions were on the back of the card reader's packaging.
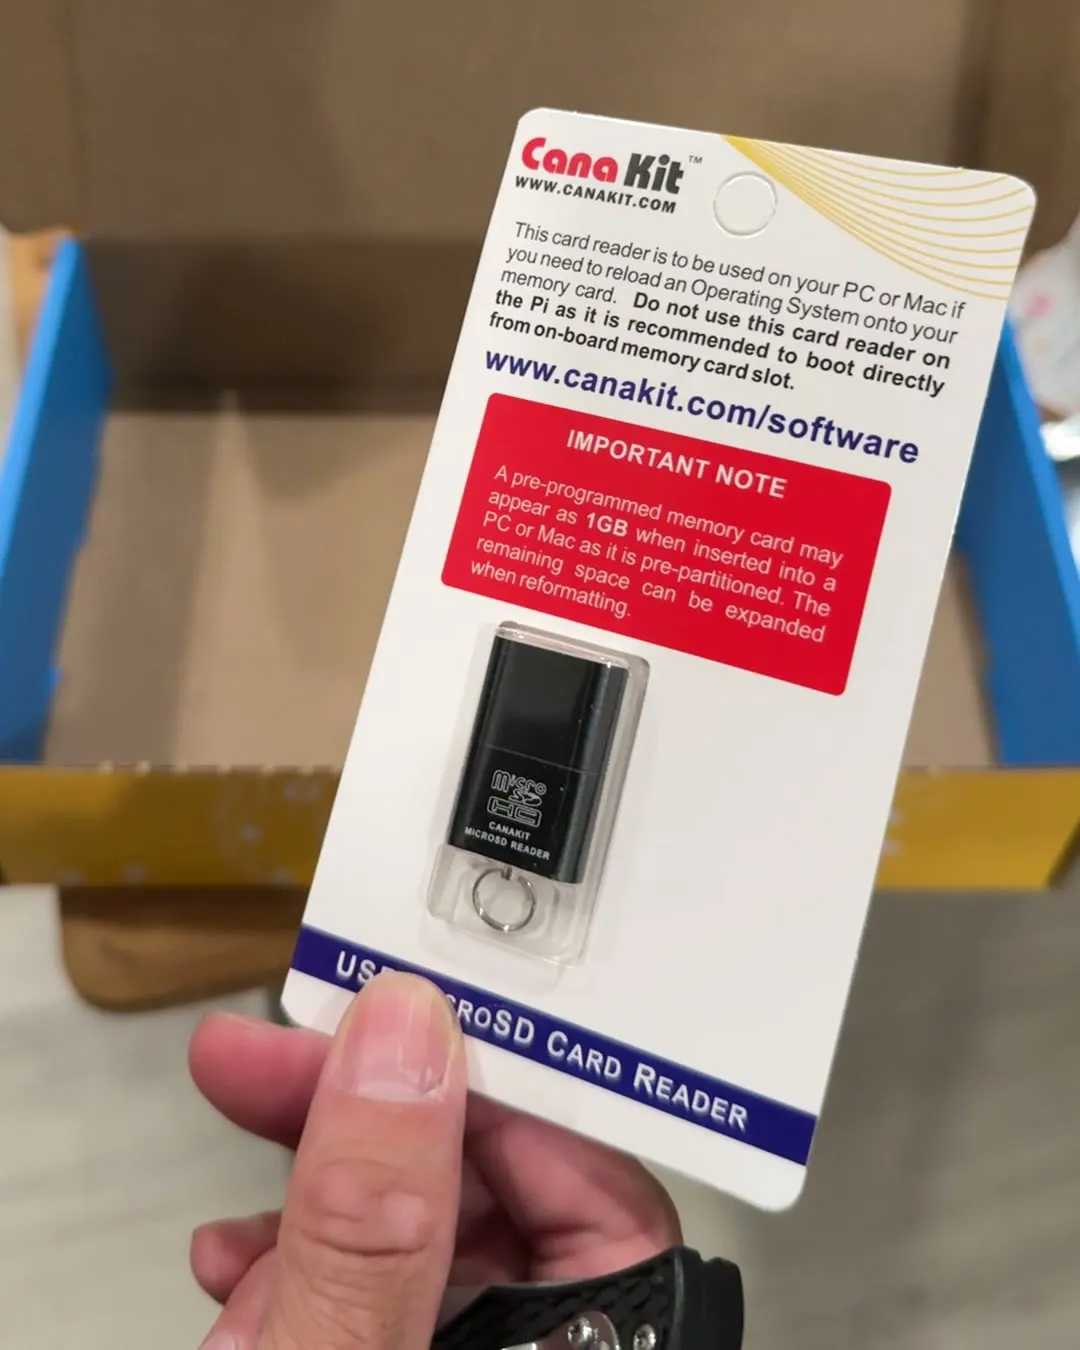
1. The instructions were on the cooler box
I took the case apart and wasn't sure whether the fan or the board went in first, so I guessed. Then I wondered which way round the cooler went. I was about to look it up when I noticed the answer had been in my hand all along.
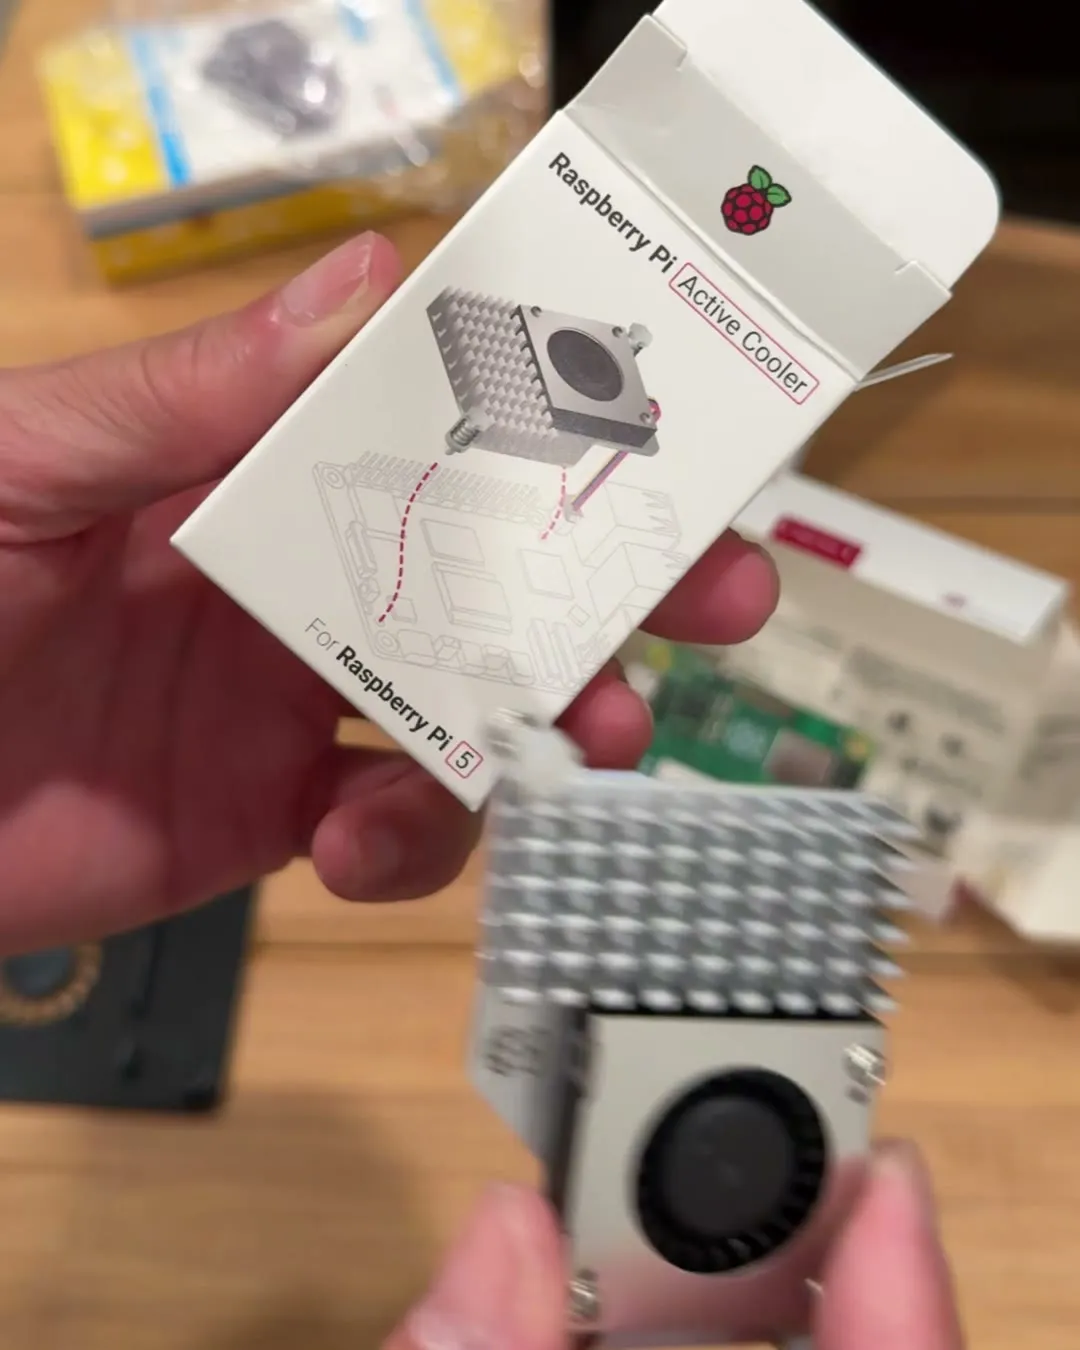
"There's actually a little guide right here. I didn't see that."
It wasn't hard once I'd found it. It was just somewhere I'd never think to look: on the outside of a box I'd already opened and put down.
2. A tiny cover hiding the fan socket
The fan has a tiny cable that plugs into an even tinier socket on the board. It wouldn't go in. Then I spotted why: a small protective cover was sitting over the socket. Nothing mentions it.
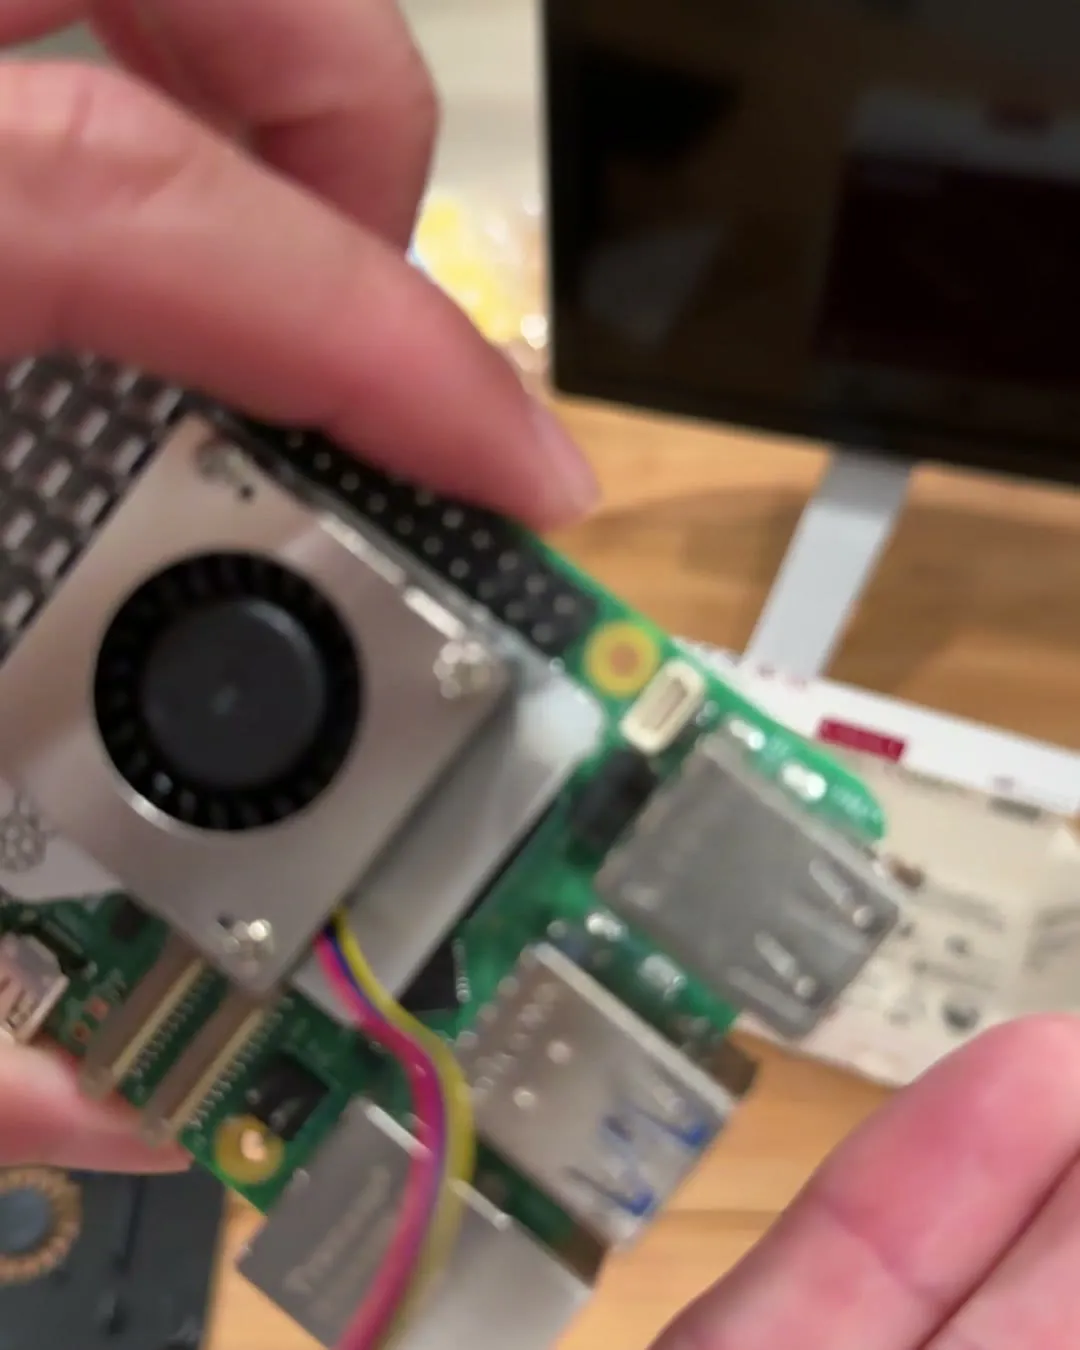
"The directions don't tell you about that."
Once that was sorted, the board dropped into the case and the lid snapped on. That part was genuinely well designed. It only fits one way, and it clicks when it's right.
3. Updating the memory card with Raspberry Pi Imager
The card comes with software already on it, but the newest version needs to go on from a laptop. You put the card in the card reader and plug that into the laptop. The card went in part of the way and then felt stuck. I didn't want to force it.
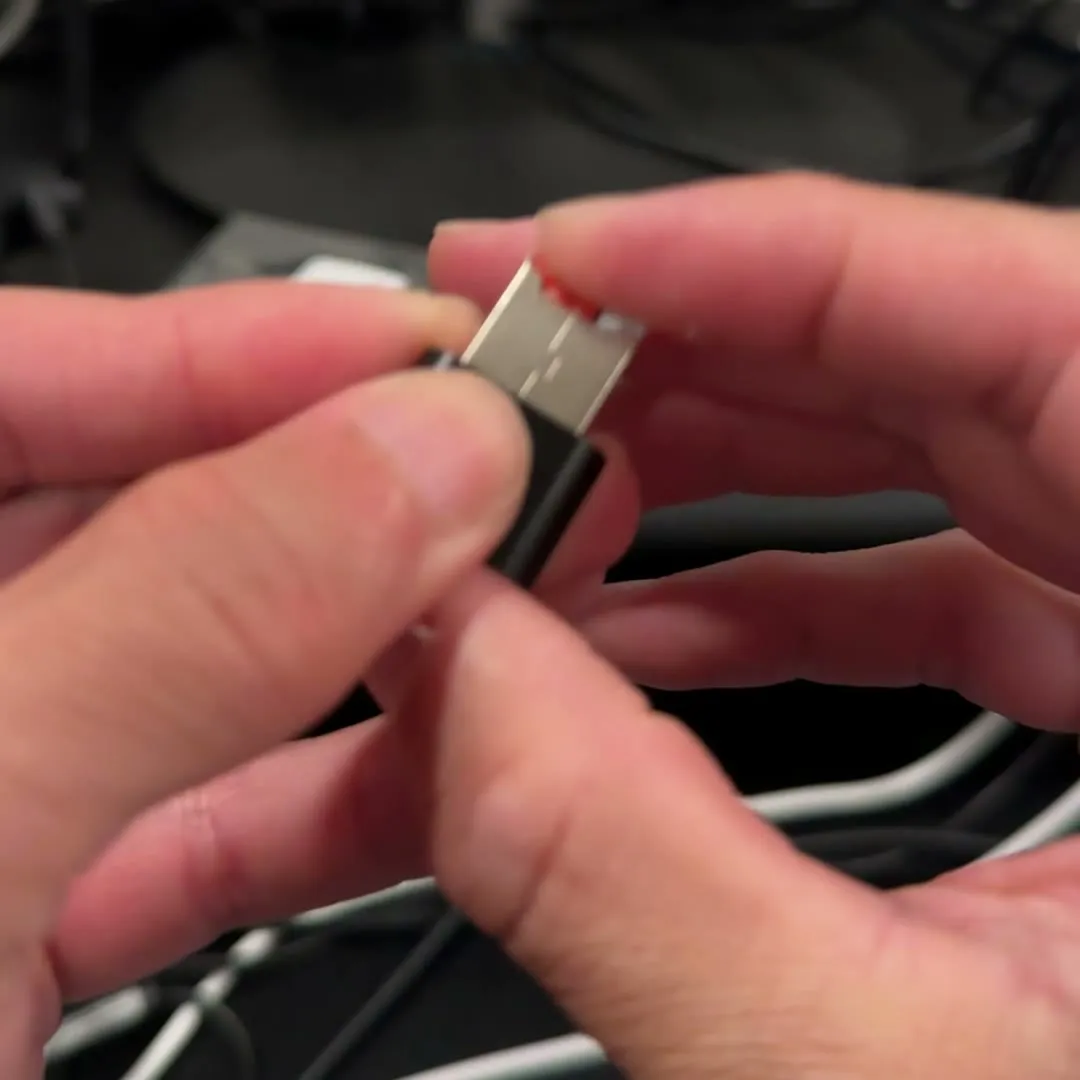
Raspberry Pi's free app, Raspberry Pi Imager, does the rest. Getting to it was my next snag. Claude installed it for me with a typed command. What I didn't realise was that this put a new app in my Mac's Applications folder, and I had to go and open it myself. Working that out took me a while.
Once it's open, it takes you through one step at a time: pick your device, pick the software, pick the card, then fill in a name, a password and your Wi-Fi.
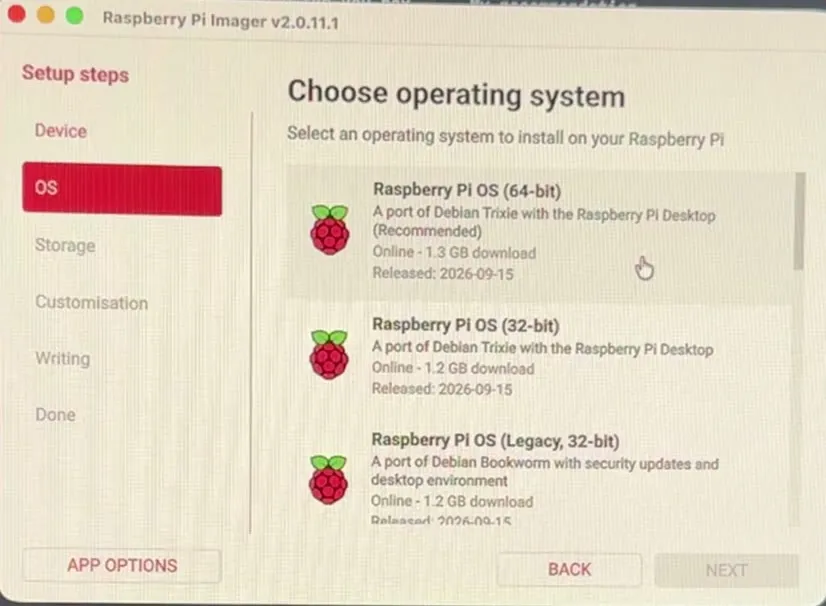
I had Claude Code, the version of Claude that works on your computer, open the whole time. It told me which options to pick and what to type in each box.
"Thank you, Claude Code, for telling me what to do."
Then you wait. The app writes the software to the card, then reads it all back to check it. The card reader in the kit is USB 2.0, an older, slower kind, so this took a long time. There's nothing to do but let it finish.
4. Turning on the TV's remote setting (HDMI-CEC)
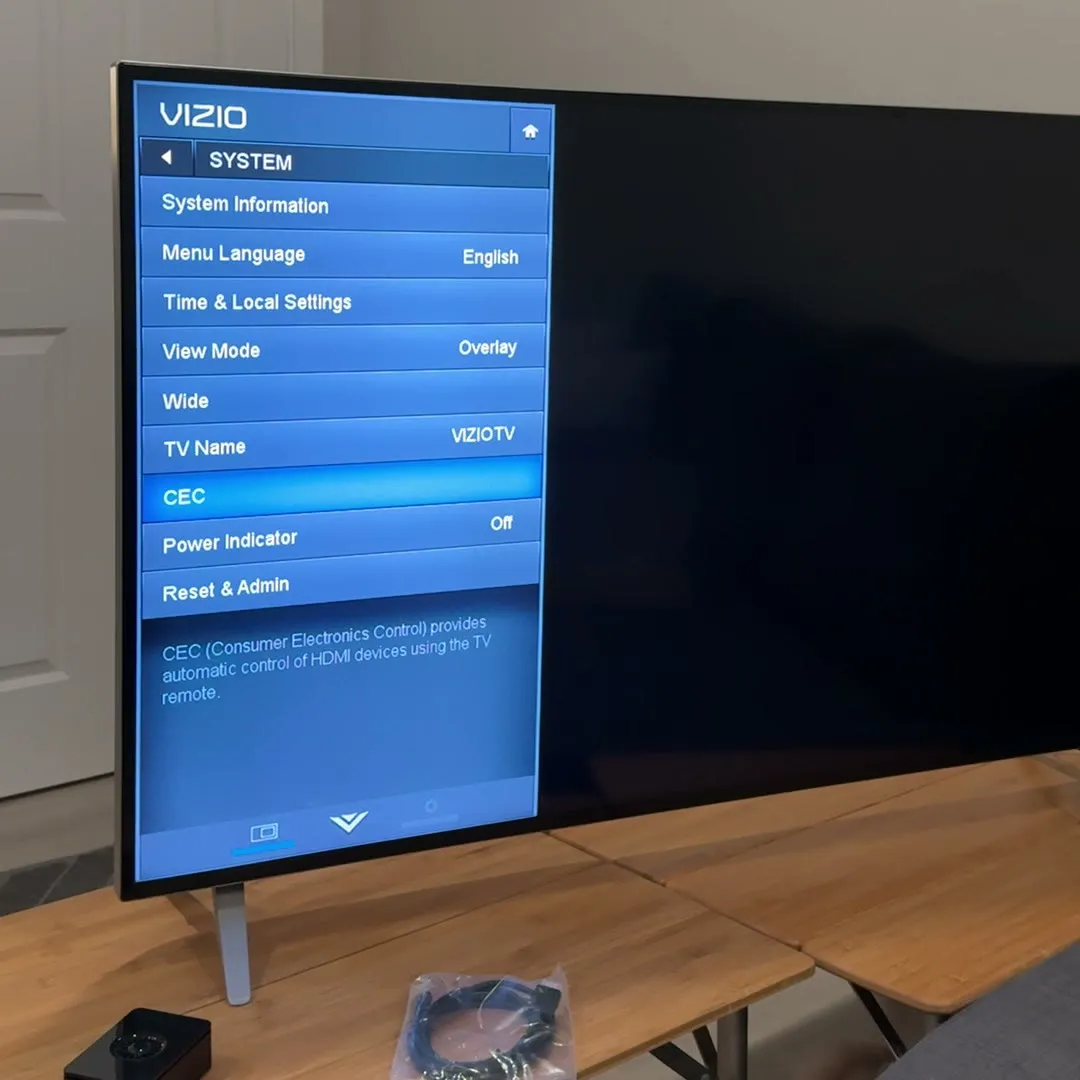
I want Dad's ordinary TV remote to work the home screen, so there's no extra remote to lose. That depends on HDMI-CEC (Consumer Electronics Control): a TV setting that lets one remote control the things plugged into the TV. Every brand calls it something different:
- Vizio: CEC
- Samsung: Anynet+
- LG: SimpLink
- Sony: Bravia Sync
On my Vizio it was under Menu, then System, then CEC. It's there, but you'd only find it if you knew what to look for.
5. Which HDMI port: use HDMI 0 on the Pi 5
The TV has five sockets for the HDMI cable, in two places on the back, labelled in small print. The Pi has two, marked HDMI 0 and HDMI 1 in print too small for me to read. Use HDMI 0, the one nearest the USB-C power socket. Both show a picture, but our setup listens for the TV remote on HDMI 0, so on HDMI 1 the buttons wouldn't reach it.
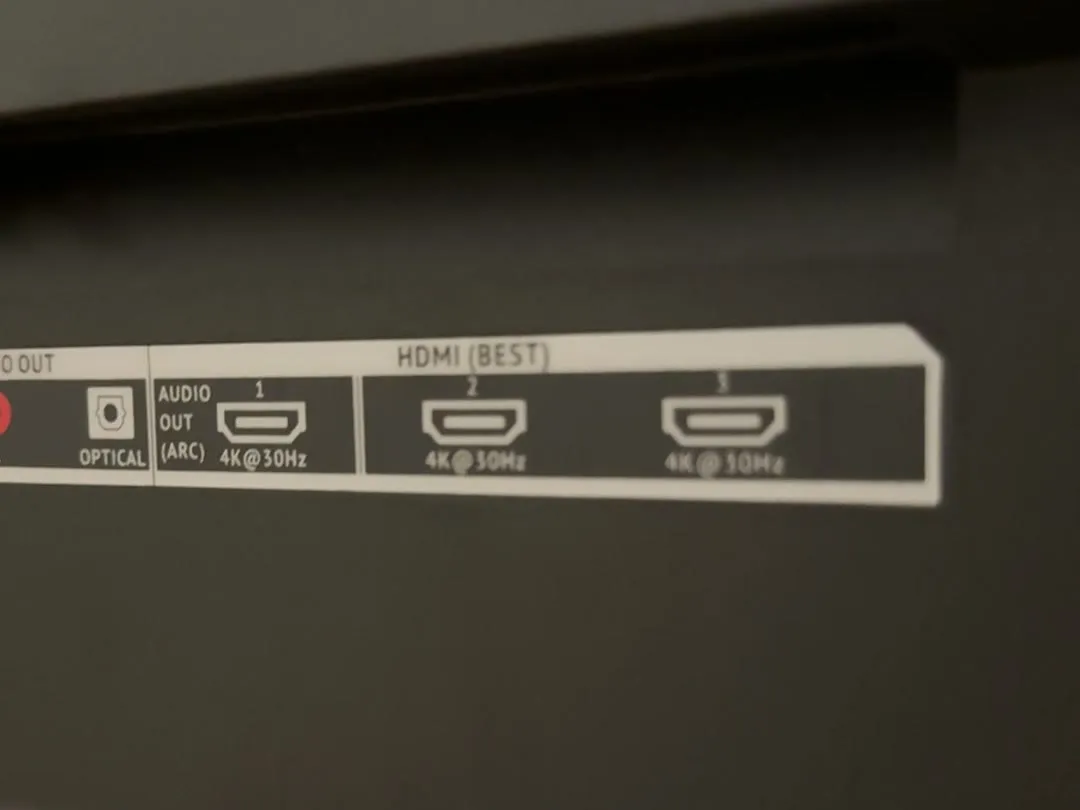
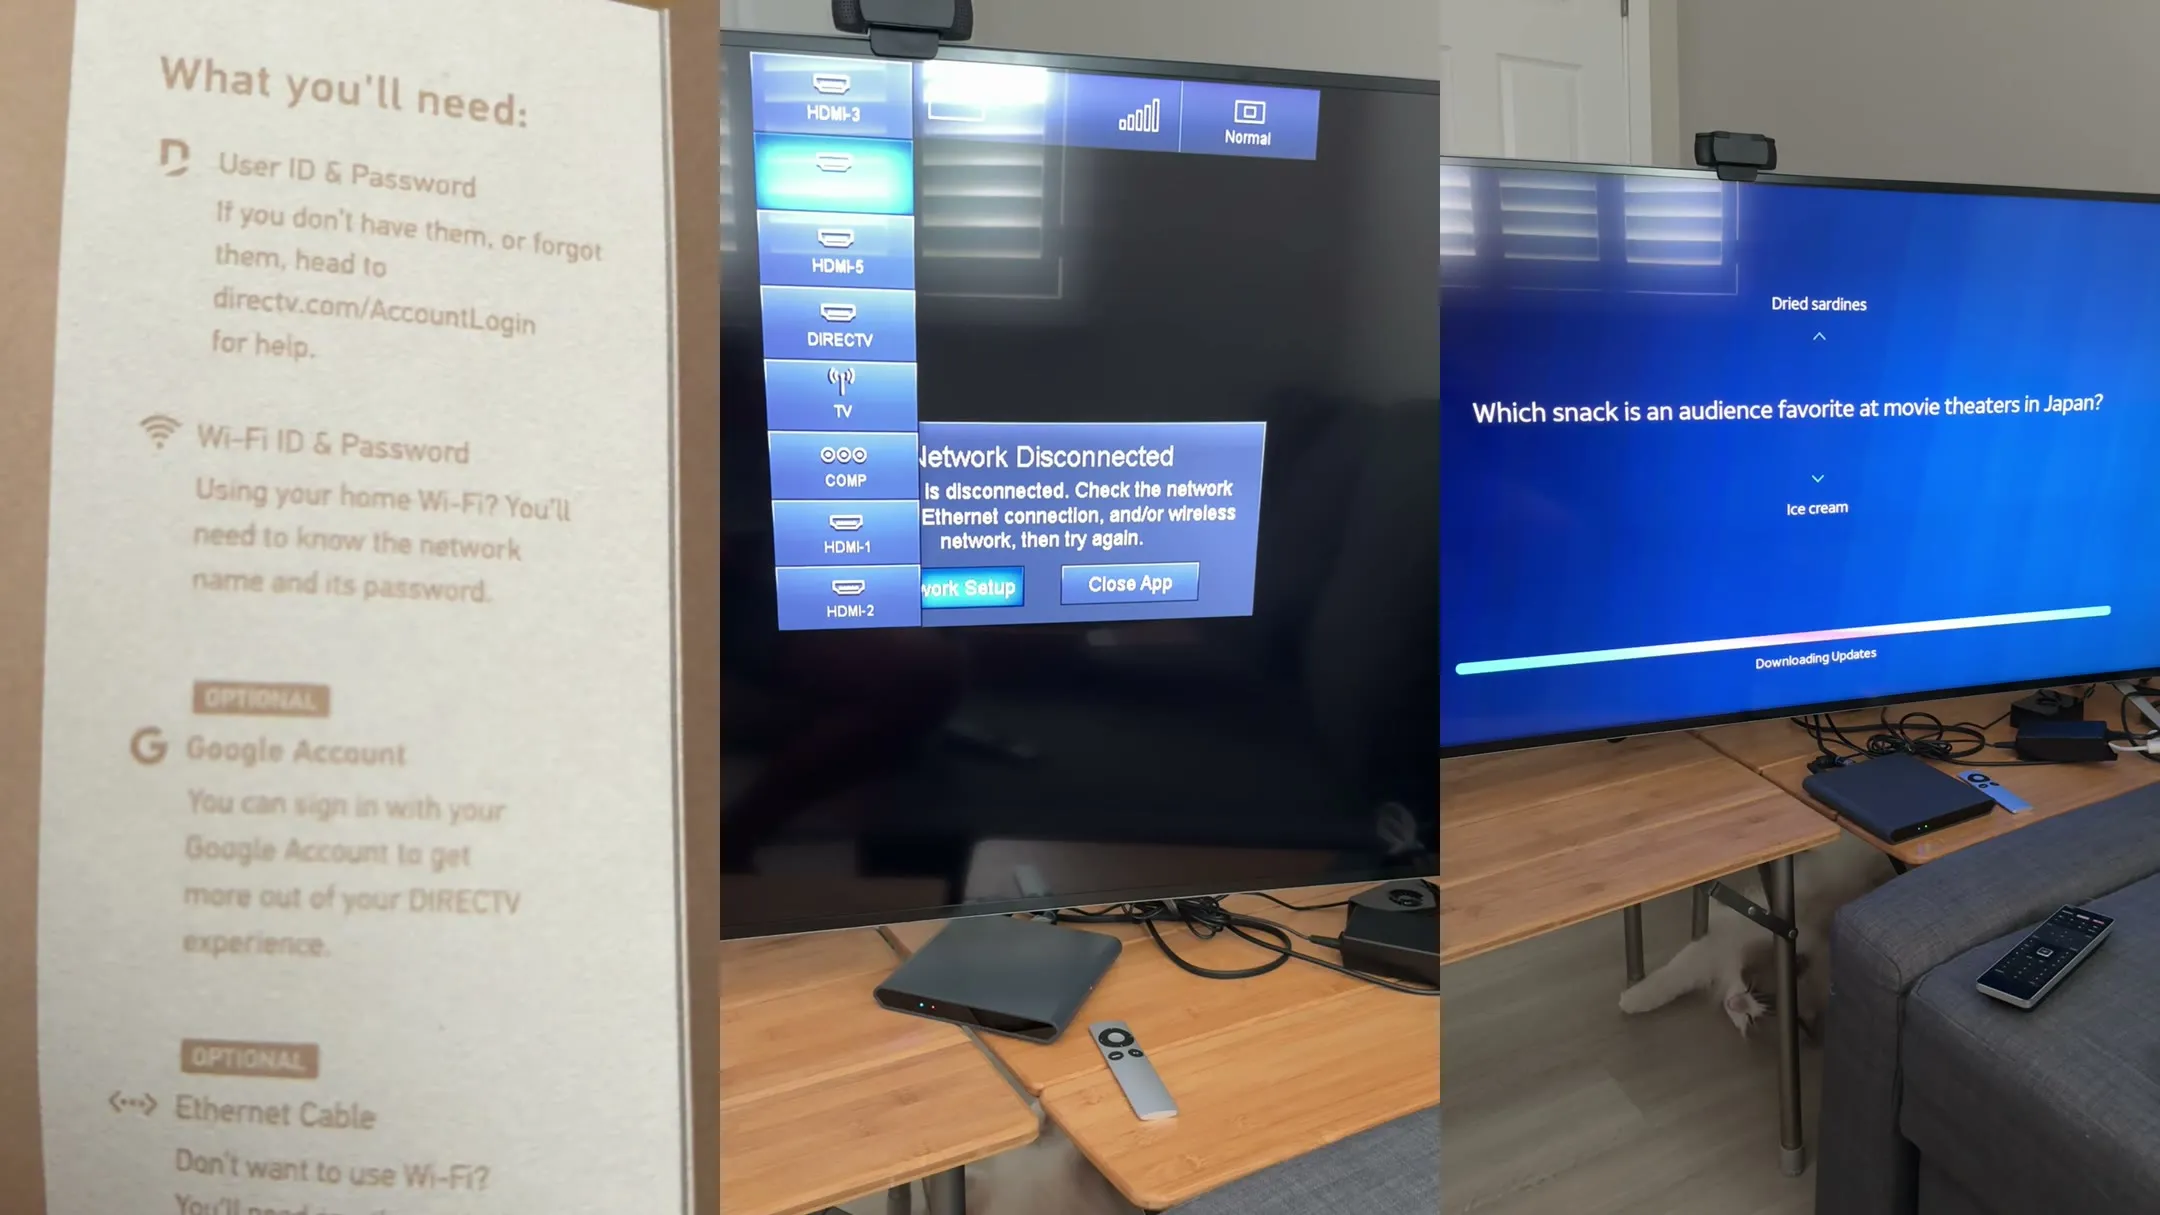
Later that night I put the card in the Pi, plugged in the power and turned on the TV. It said "No Signal". The Pi was on, but the TV was showing a different input, and its list only said HDMI-1 to HDMI-5. I went round the back again to work out which number was which. It turned out to be HDMI-5. When I switched to it, the Raspberry Pi desktop appeared.
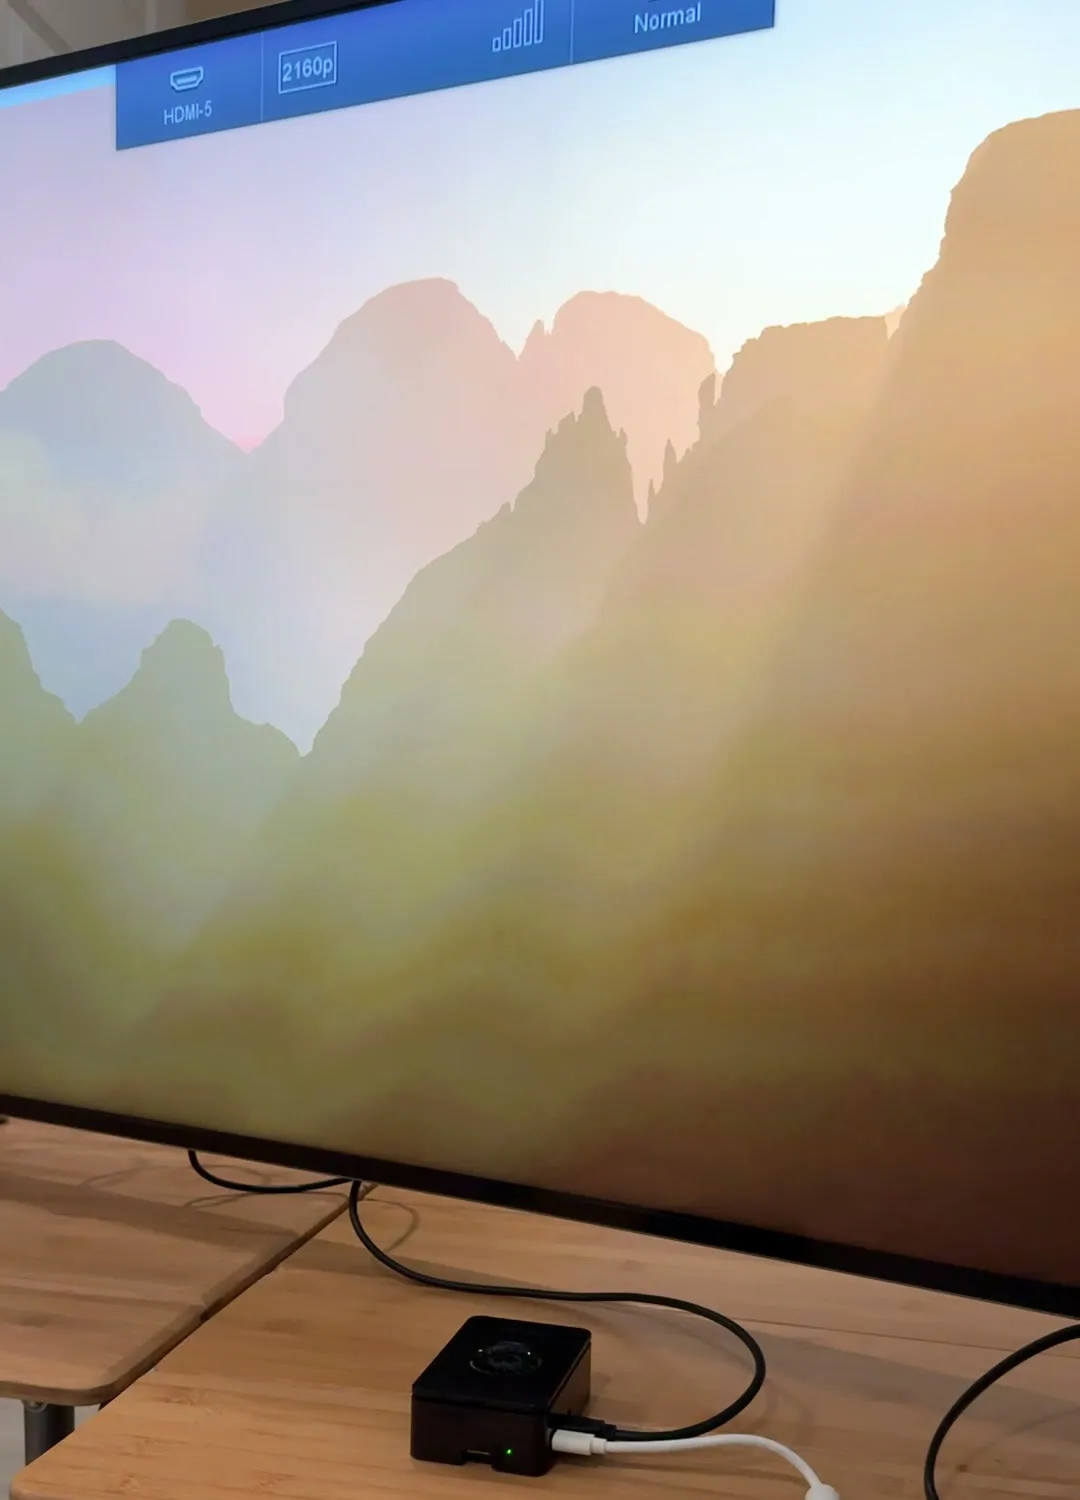
The moment it worked: one remote
Next I loaded the first version of the home screen software Eric had built, and tested what the Pi could do with my own TV. The big question was which buttons on the ordinary TV remote would reach it.
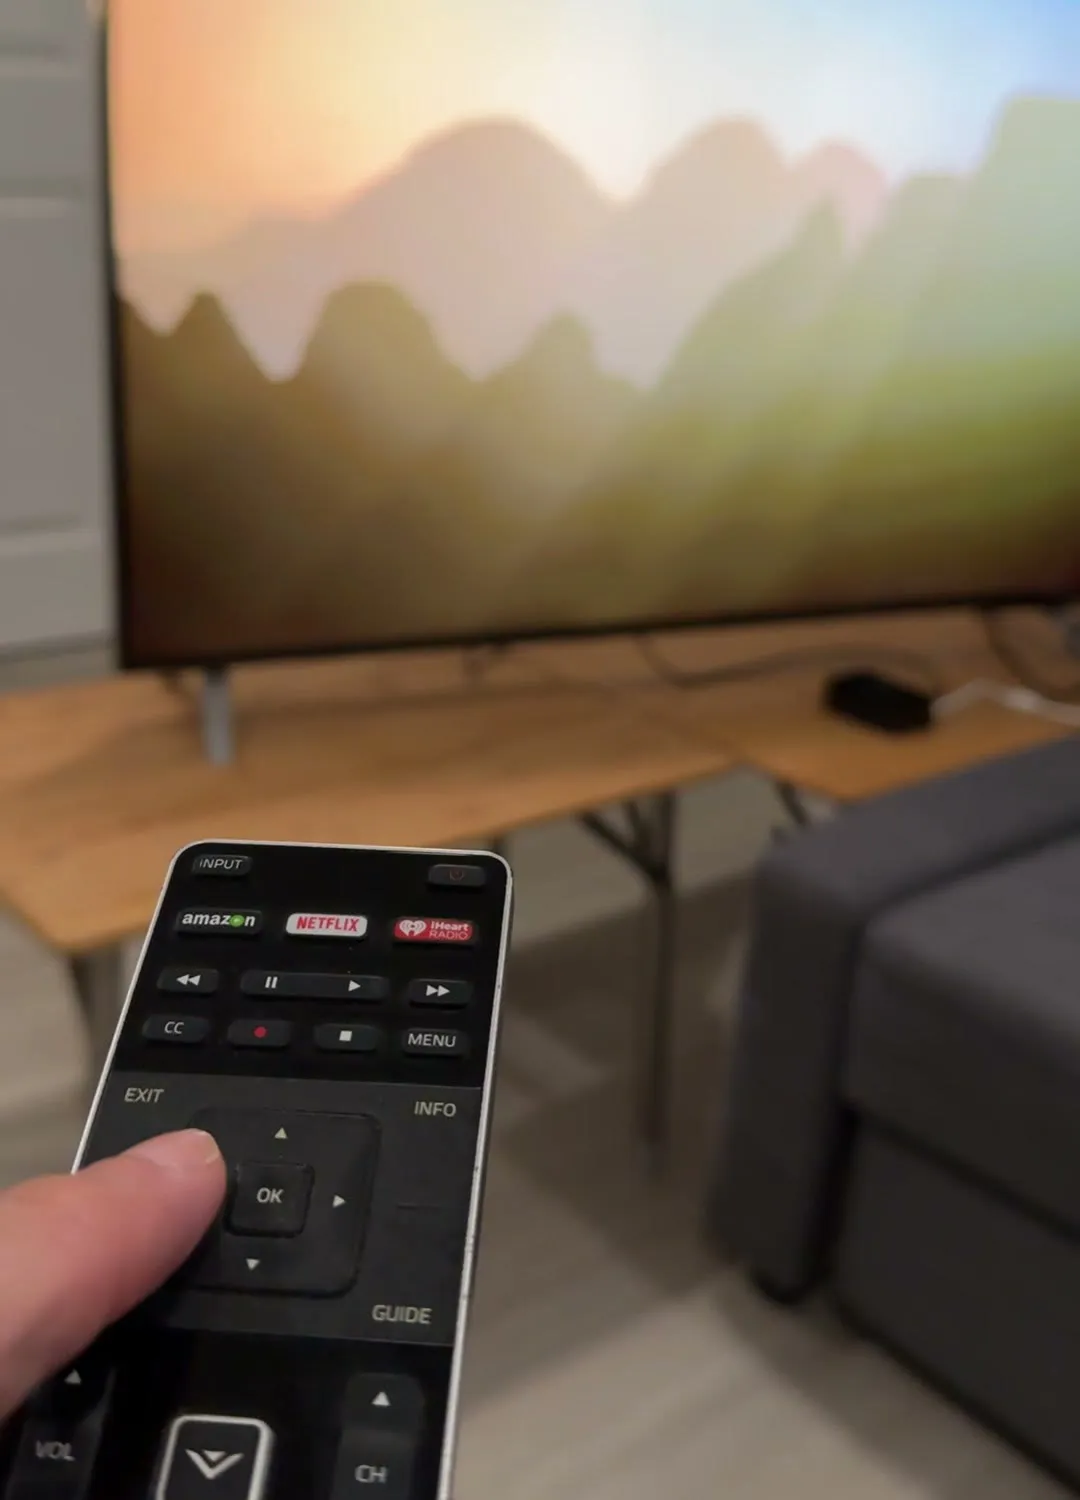
Tested on 23 September 2026 with a Vizio TV and its own remote, HDMI-CEC on, Pi on HDMI 0:
| Button | Reached the Pi? | Notes |
|---|---|---|
| Up, Down, Left, Right | Yes | |
| OK | Yes | |
| Exit | Yes | Can stand in for Back |
| Play | Yes | |
| Back | No | The Vizio seems to keep it for itself |
| Menu | No | |
| Info | No |
It's not perfect, but it's the whole idea working: one remote, the one Dad already has.
What I'd tell the maker
- Put one printed page in the box showing the steps in order.
- Mention the cover over the fan socket.
- Print the port labels big enough to read, and say which HDMI socket to use.
- Show which way up the memory card goes. I guessed wrong.
- Include a faster card reader. Writing and checking the card on a USB 2.0 reader is a long wait.
If you're setting one up for a parent
- Build and set it up yourself before it goes anywhere near their TV.
- Turn on HDMI-CEC while you're there, and plug the Pi into HDMI 0.
- Leave the TV on the right input, and put a label on the remote's input button so nobody changes it by accident.
What's next
Getting the Back button working, then building the home screen itself. Dad's Pi won't arrive as a kit. It will arrive built, set up and already on the right input. His setup should be: plug it in, and it works.
The goals for the whole project, and where it stands, are on the BoomerOS for TV workbench page.